

Wednesday, June 28, 2017
Follow along as I make Free Spirit Fabric's Double Wedding Ring Quilt.
- Make some bias binding.
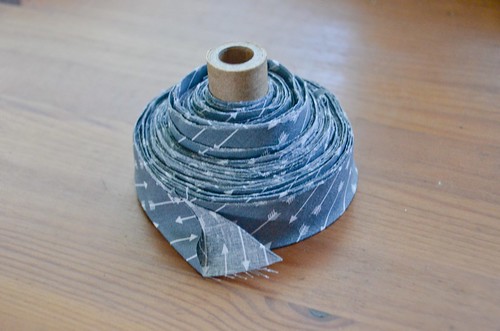
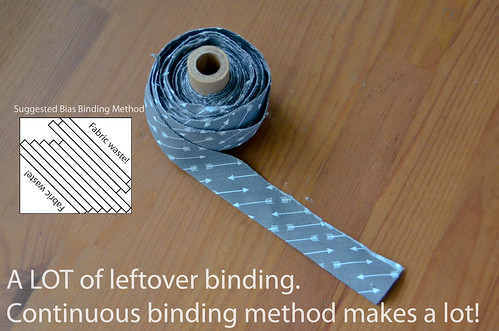
The round edges of the quilt necessitate bias binding , and I prefer continuous bias binding, not whatever the pattern suggests. You don't need a full yard to make continuous bias binding, you'll have a lot of excess. I wish I had made the binding a bit wider than usual, as I always end up with thin patches from my inability to cut a straight line.
At the very least, double-check that the both edges of the bias binding are the same height (i.e., the fold should be in the middle).
- Trim excess batting and backing.
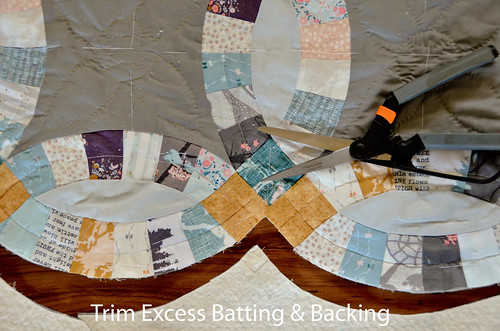
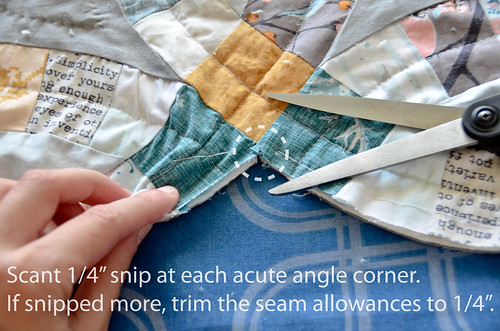
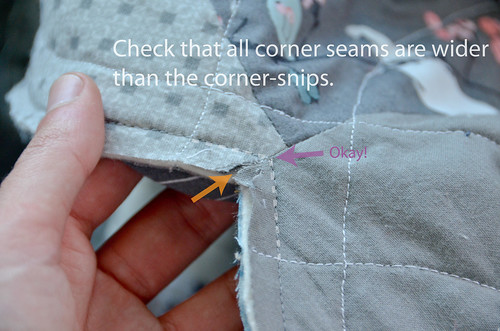
- Snip scant 1/4" inside every corner - if you snip more than that, trim the seam allowances back down to 1/4".
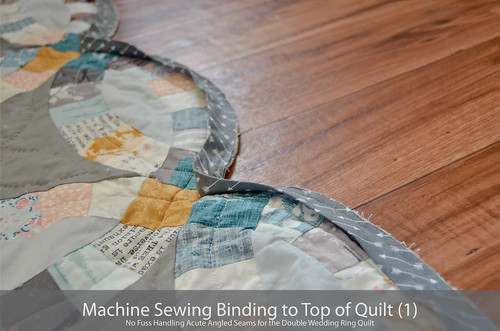
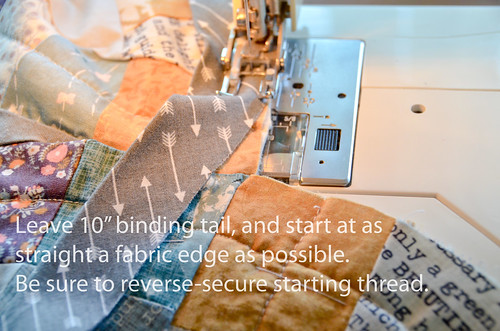
- Leave a large binding tail, and start machine sewing & easing in on a relatively straight edge. Do not stretch binding!
MOVE SLOWLY! It's worth it to do it right the first time!!! It's very difficult to undo these seams and resew.
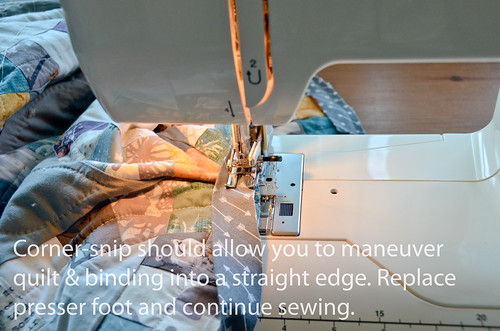
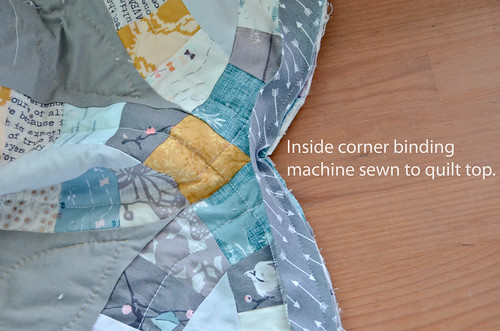
- When you get to an inside corner, go 1/4" past the corner and put your needle down (bring up the presser foot).
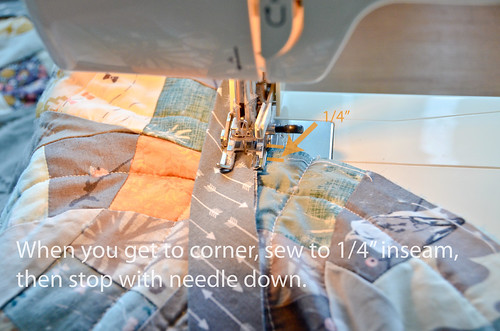
- Corner-snip allows you to straighten the fabric and binding as shown. Place down presser foot and continue sewing to next inside corner.
- Repeat until you get to last 10" of binding. Secure with a reverse stitch.
- Check all seams to make sure the snip doesn't extend beyond the seam. If it does, remove stitches, trim seam allowance to 1/4", and resew.
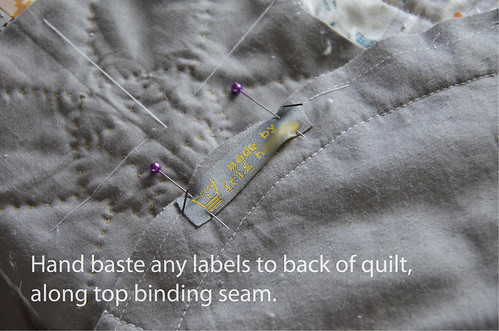
- (optional) Hand-baste with a couple stitches any sew-on care labels (to the back).
- Tutorial is upcoming for how to finish/connect the last 10" of binding.
- Start of the Double Wedding Ring Quilt! Materials!
- Step 1: Cutting the Rectangles
- Step 2: Sewing the Arcs
- Step 3: Removing the Paper Templates & Sewing Corner Squares
- Step 4: Assembling the Melons
- Step 5: Assembling the Circle Units & Rows
- Step 6: Attaching Circle Unit Rows
- Step 7: Quilt Back & Quilt Sandwich
- Step 8: Beginning Machine Quilting - Avoiding Bottom Threads & Backstitching
- Step 9: Hand Quilting
- Step 10: Attaching Binding to Front of Quilt
- Step 11: Mitered Join for the Binding
- Step 12: Attaching Binding to Back of Quilt
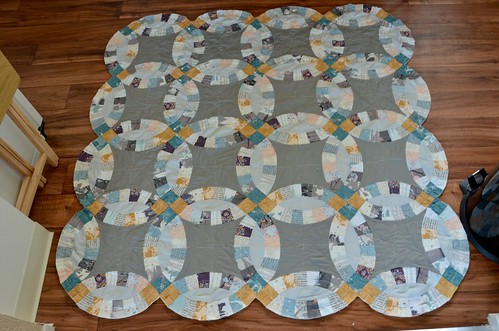
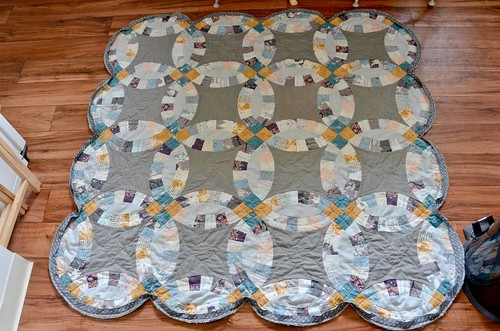
- Completed Double Wedding Ring Quilt Throw!


0 comments:
Post a Comment